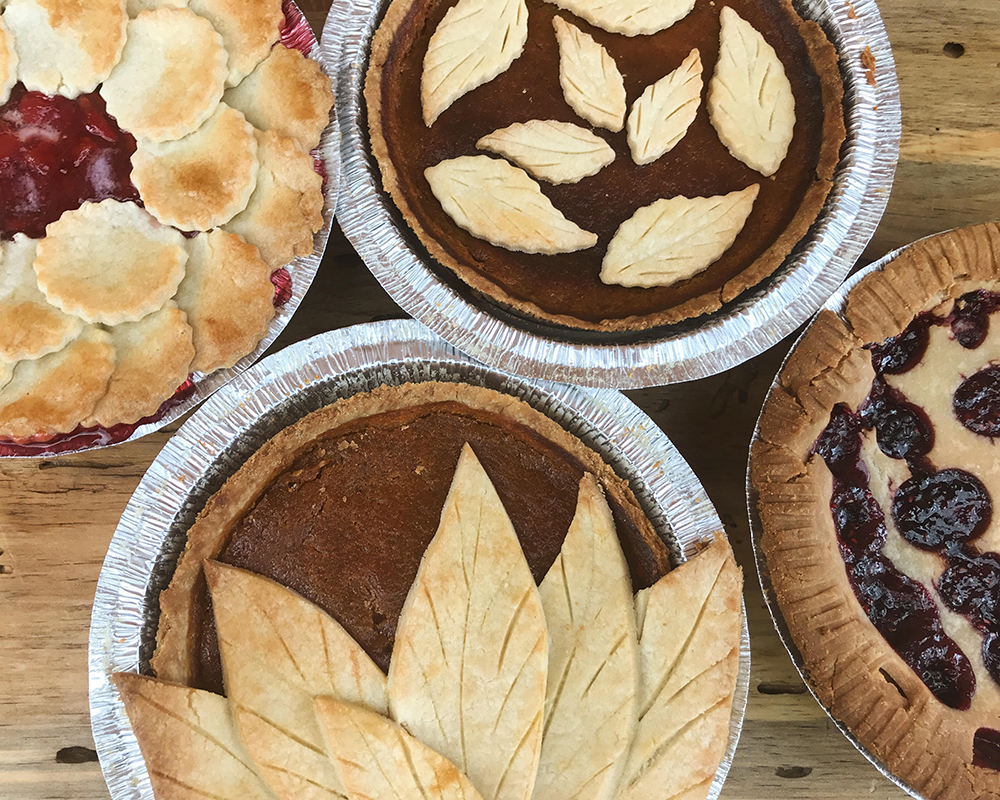
I’m going to be honest here: I spend a lot of time thinking about pie. I think about different types of fillings and fun new combinations, I think about how to optimize the deliciousness, and I think about how to bring something new to the crust game. Even the most simple pie can be absolutely stunning, and it can be as easy as a few cut outs or a little crimping on the crust!
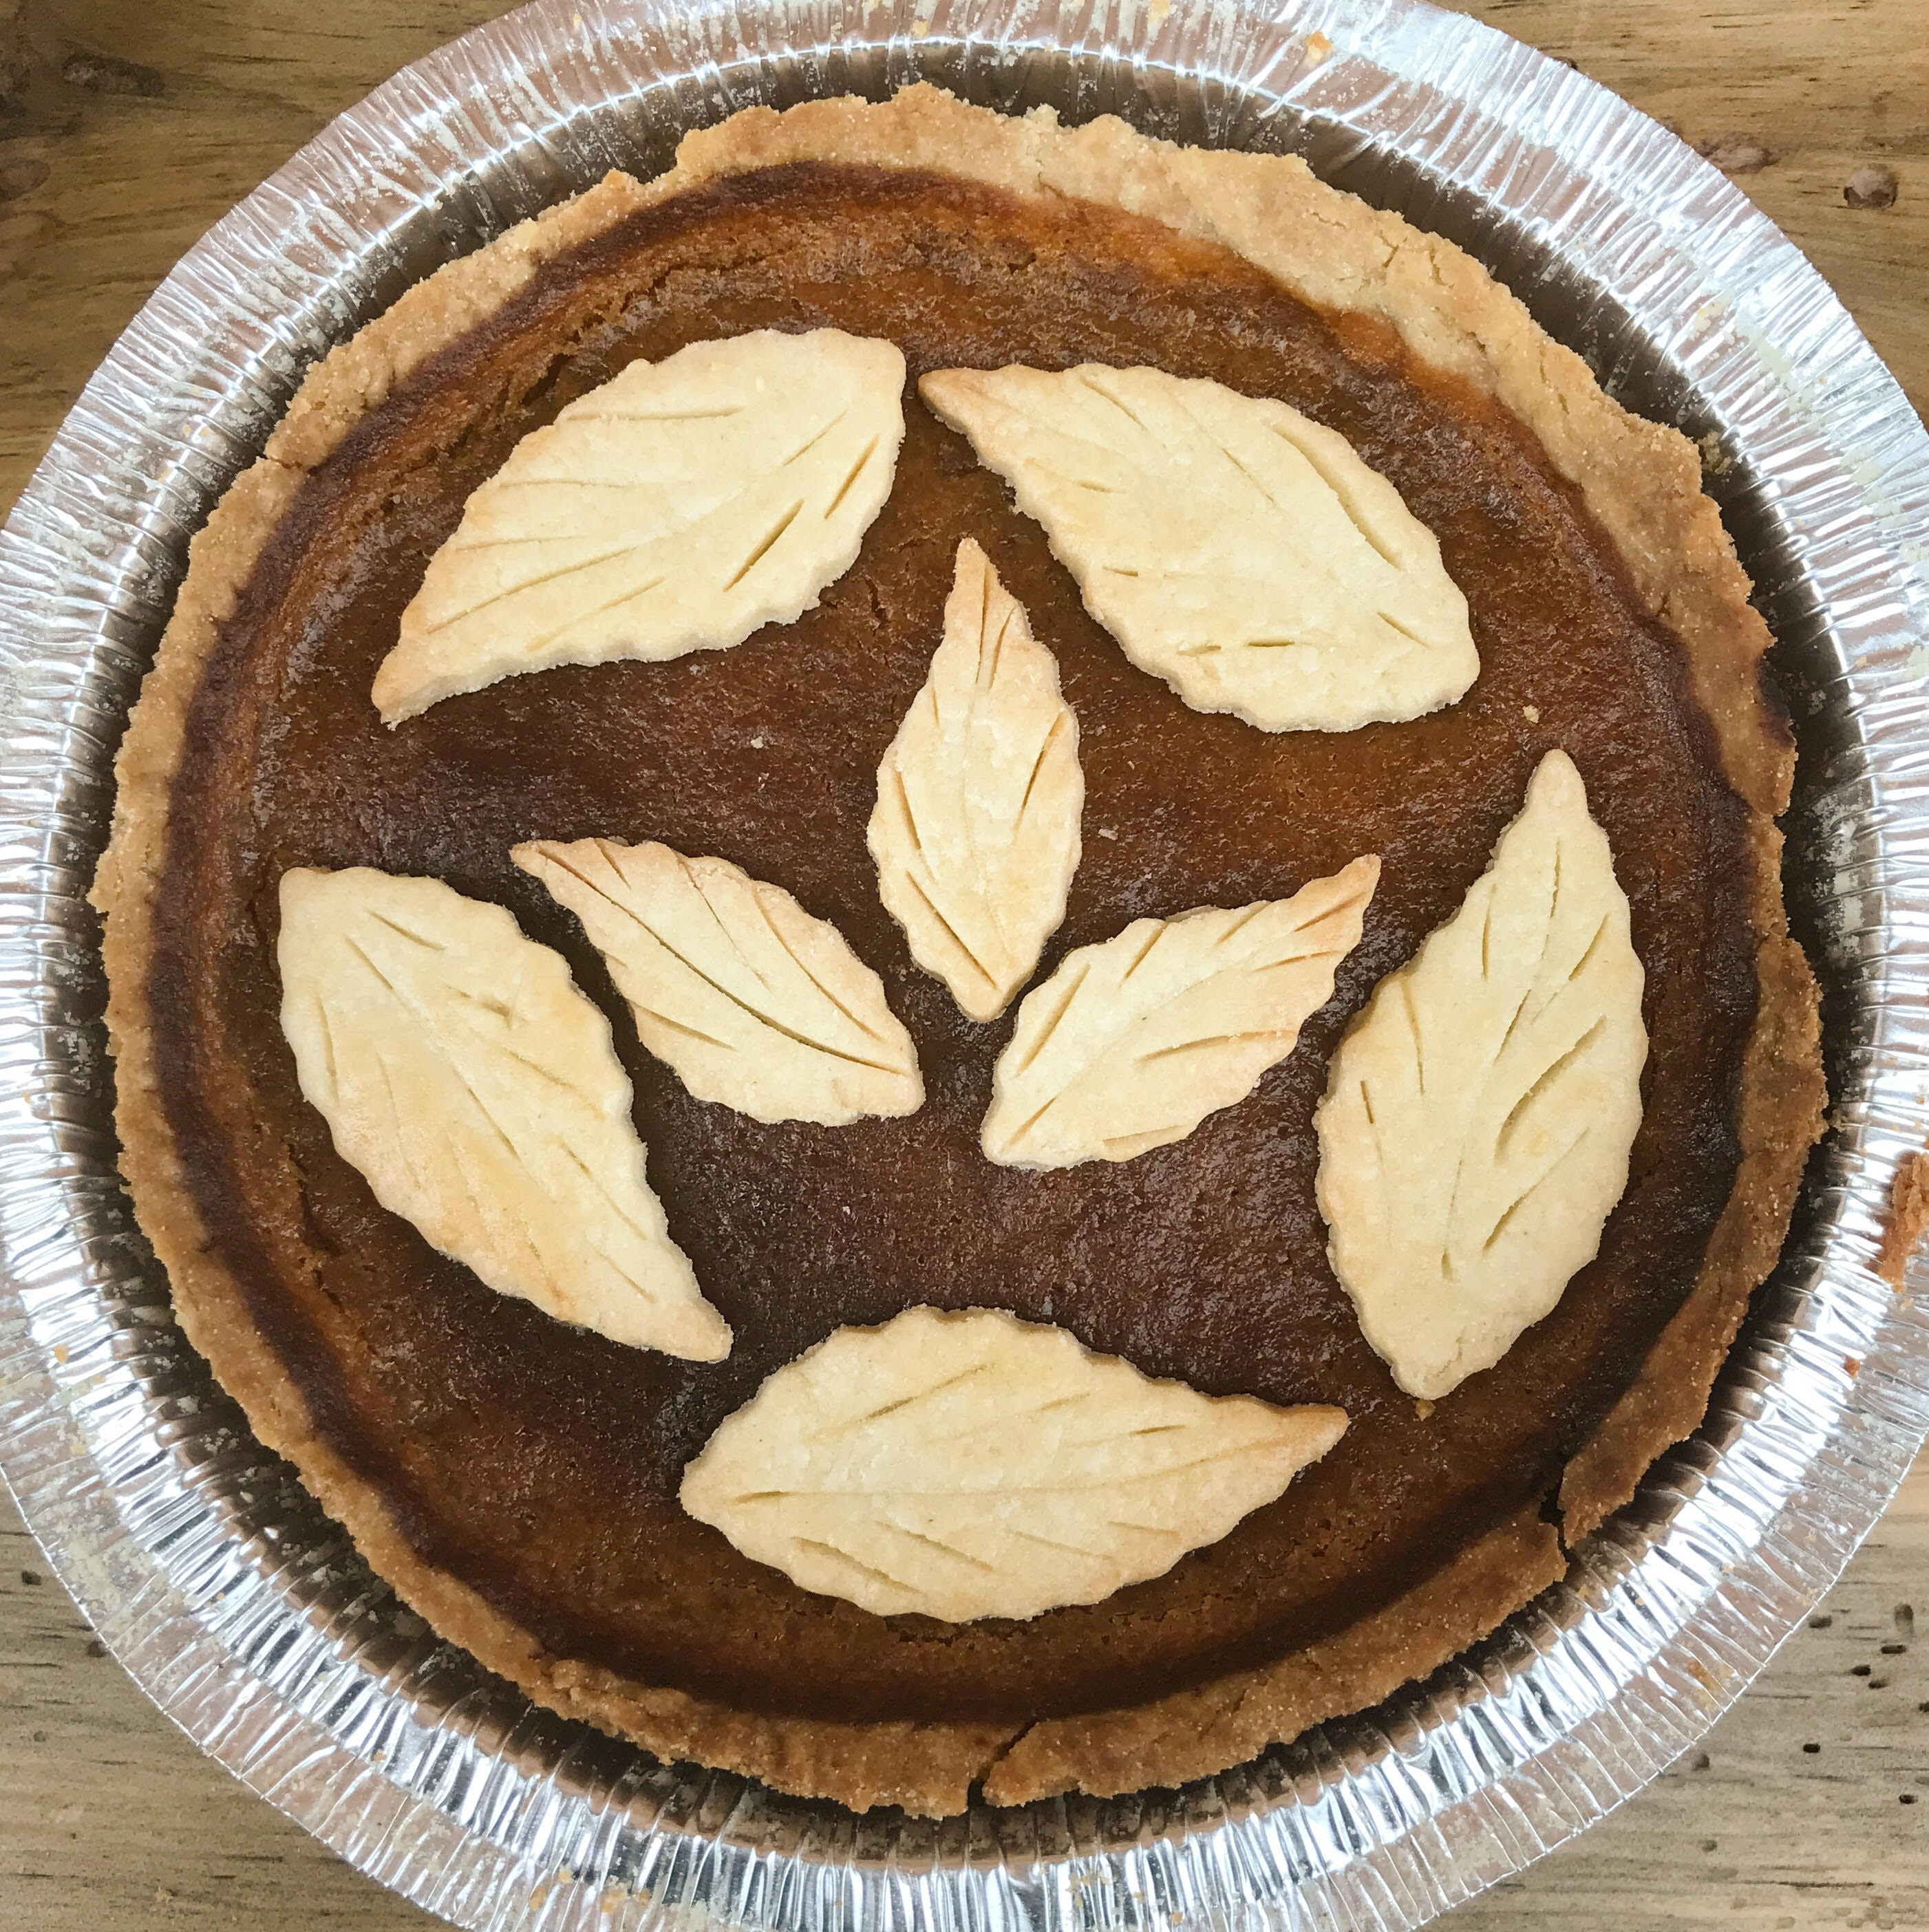
One of the absolute most simple ways to spruce up a pie is with cut outs. Roll out your pie dough to desired thickness, and using a cookie cutter (of whatever design you prefer), make a few cut outs. I used two different sized leaf cookie cutters. After creating my cut outs, I used a knife to scour them to create a leaf pattern and then egg washed them. I baked them for about six minutes until they were fully done (this could change depending on your dough recipe). Create a simple pie with just a bottom crust and a filling, and bake until done. After you remove your pie from the oven, while it is still hot, arrange your baked cut outs on the filling and press slightly. Allow it to cool fully before serving and there you have it! A very simple and easy way to spruce up a pie.
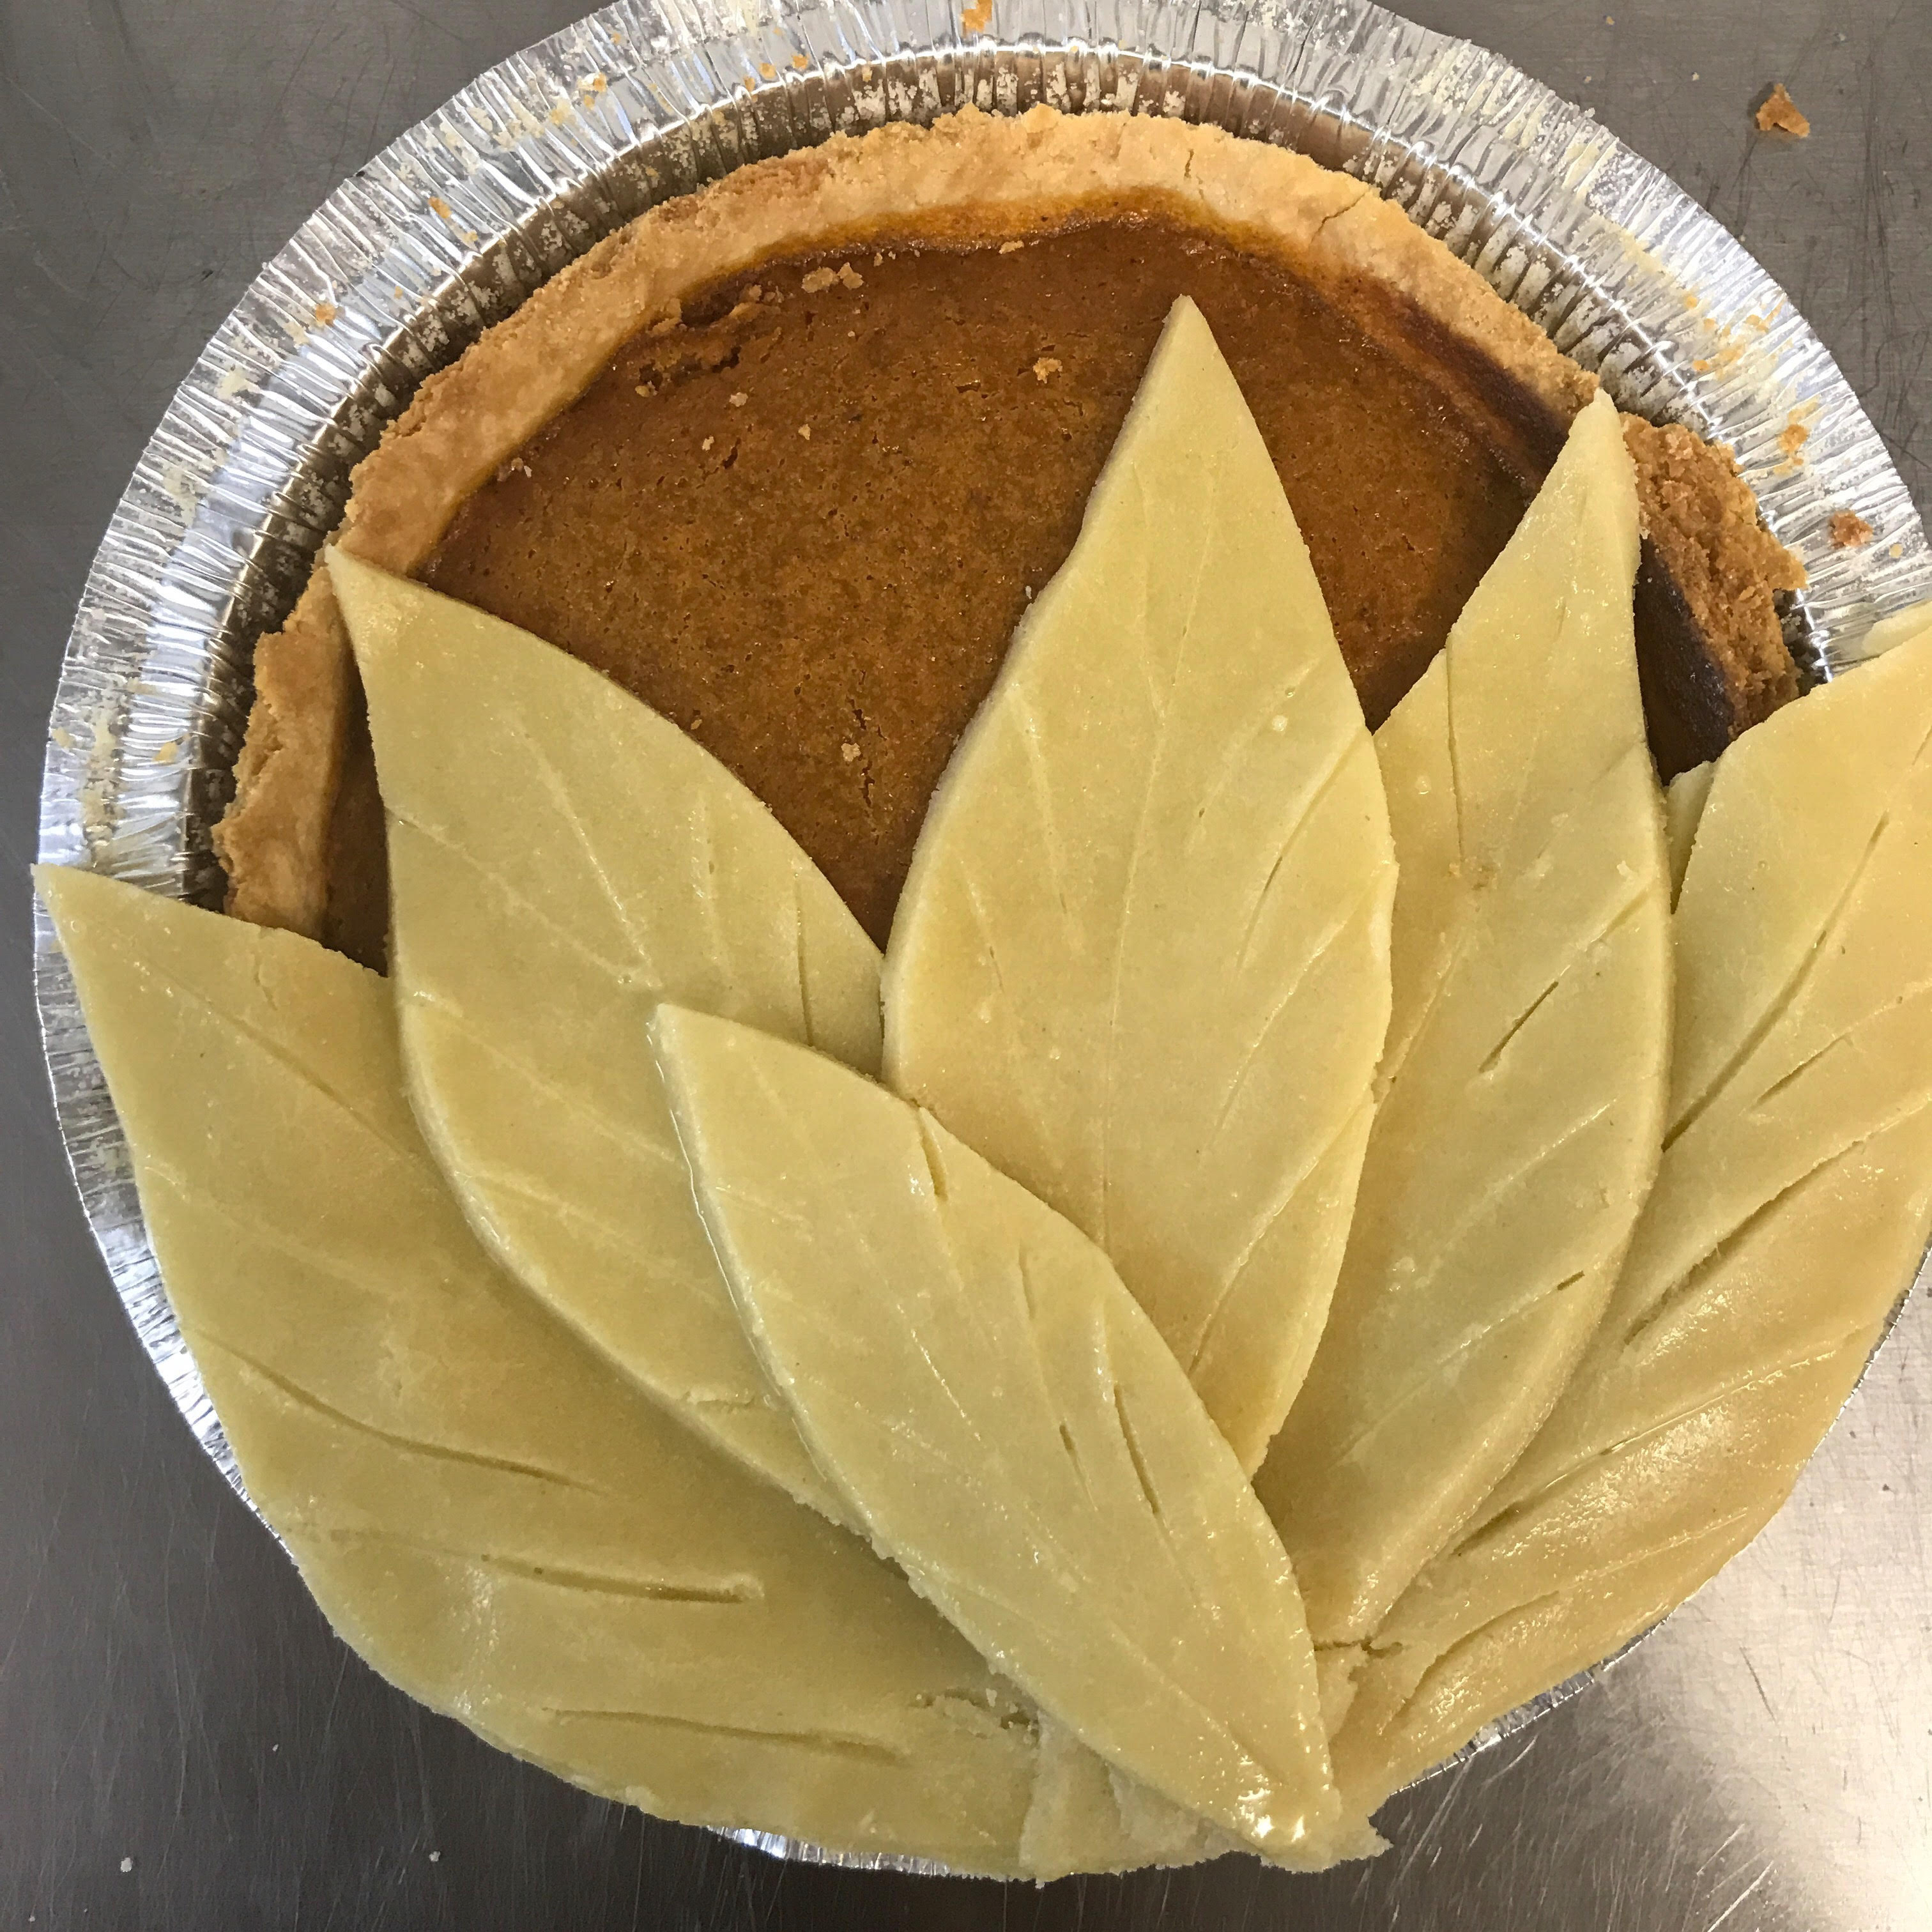
A similar, yet slightly more complicated way to smarten up your pies is to bake your cut outs into the pie or on the crust, as opposed to baking them separately and adding later. To do this, you’ll need enough pie dough for your bottom crust, plus a fair amount of extra to create your designs. Create your bottom crust and fill it. Bake your pie for half the amount of time the recipe calls for. While it is baking, roll out the rest of the dough to a desired thickness and create your designs (feel free to use a cookie cutter if you prefer!). Once again, I did leaves, but you can easily achieve any simple design!

Once you have all of your designs and the pie has baked half way, remove it from the oven. Very carefully, as you are now working with a very hot pie, place your designs onto the pie. If you please, for stability and/or aesthetics, press the sides/bottoms of your cut outs into the lip of the pie pan. Egg wash your cut outs and then return to the oven to cook the rest of the way.
If the cut outs start to brown before the pie is finished baking, cover them with tin foil and continue baking. Remove from oven and let finish cooling completely, and then serve!

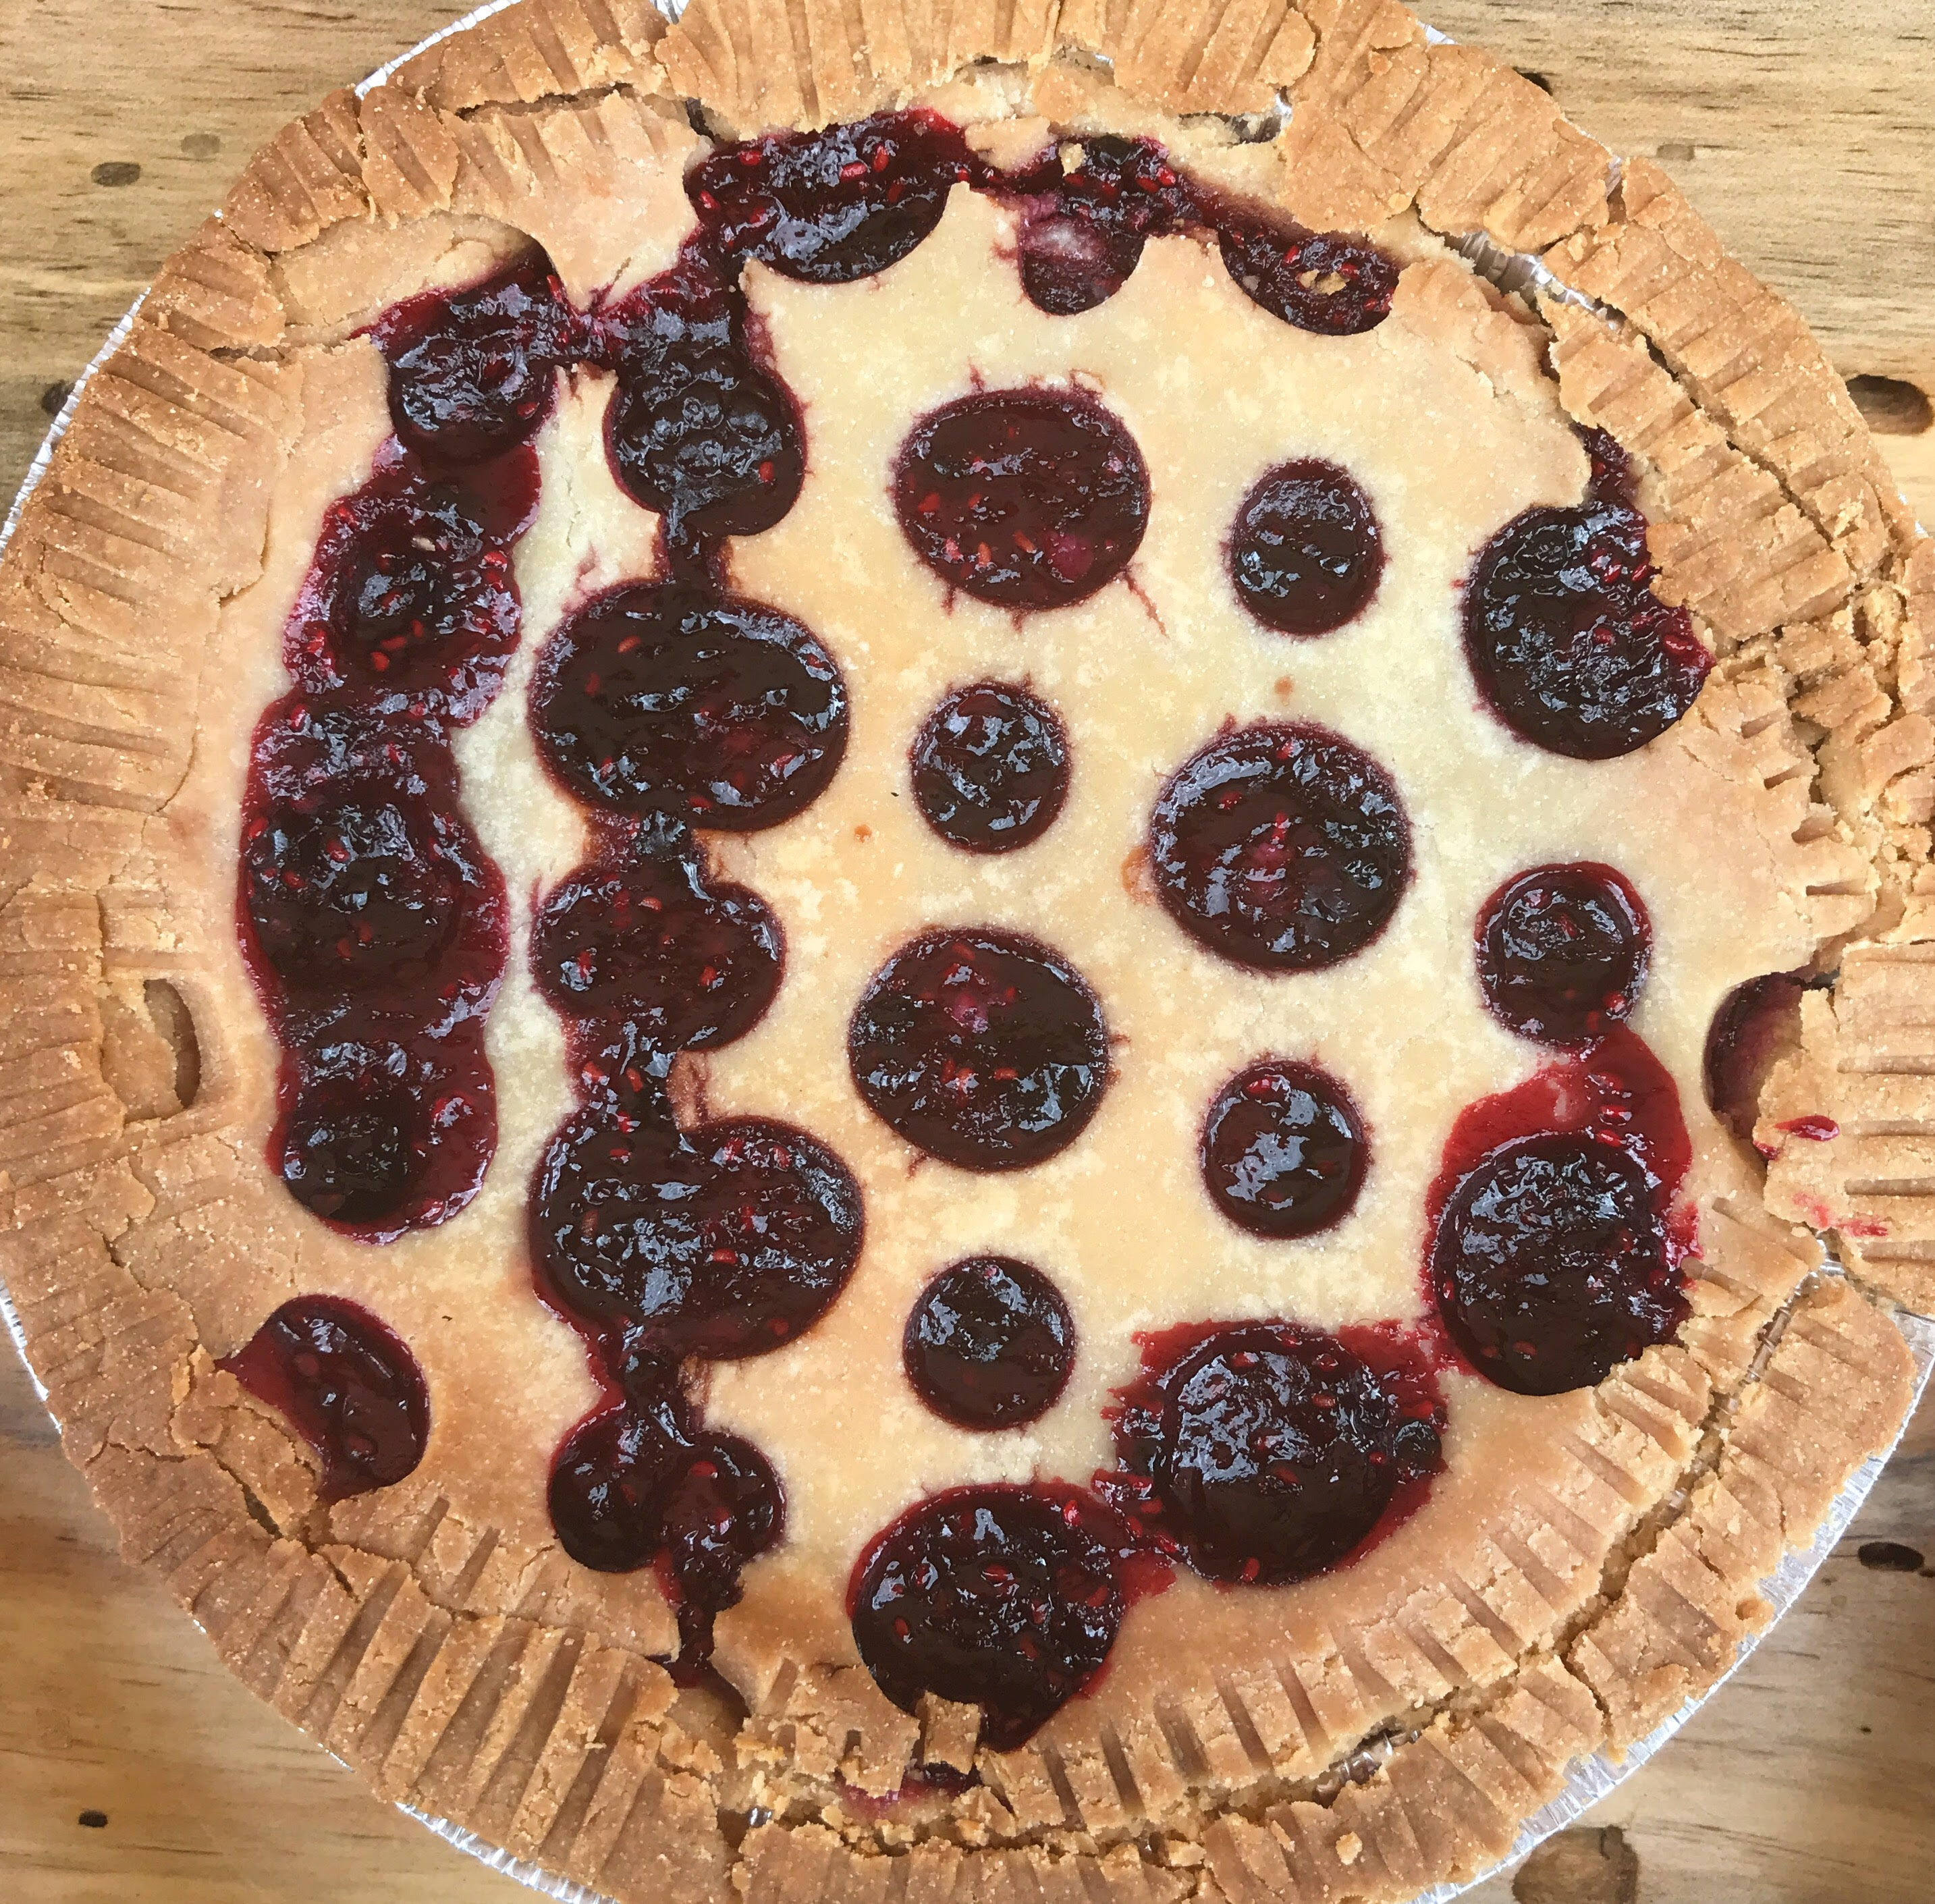
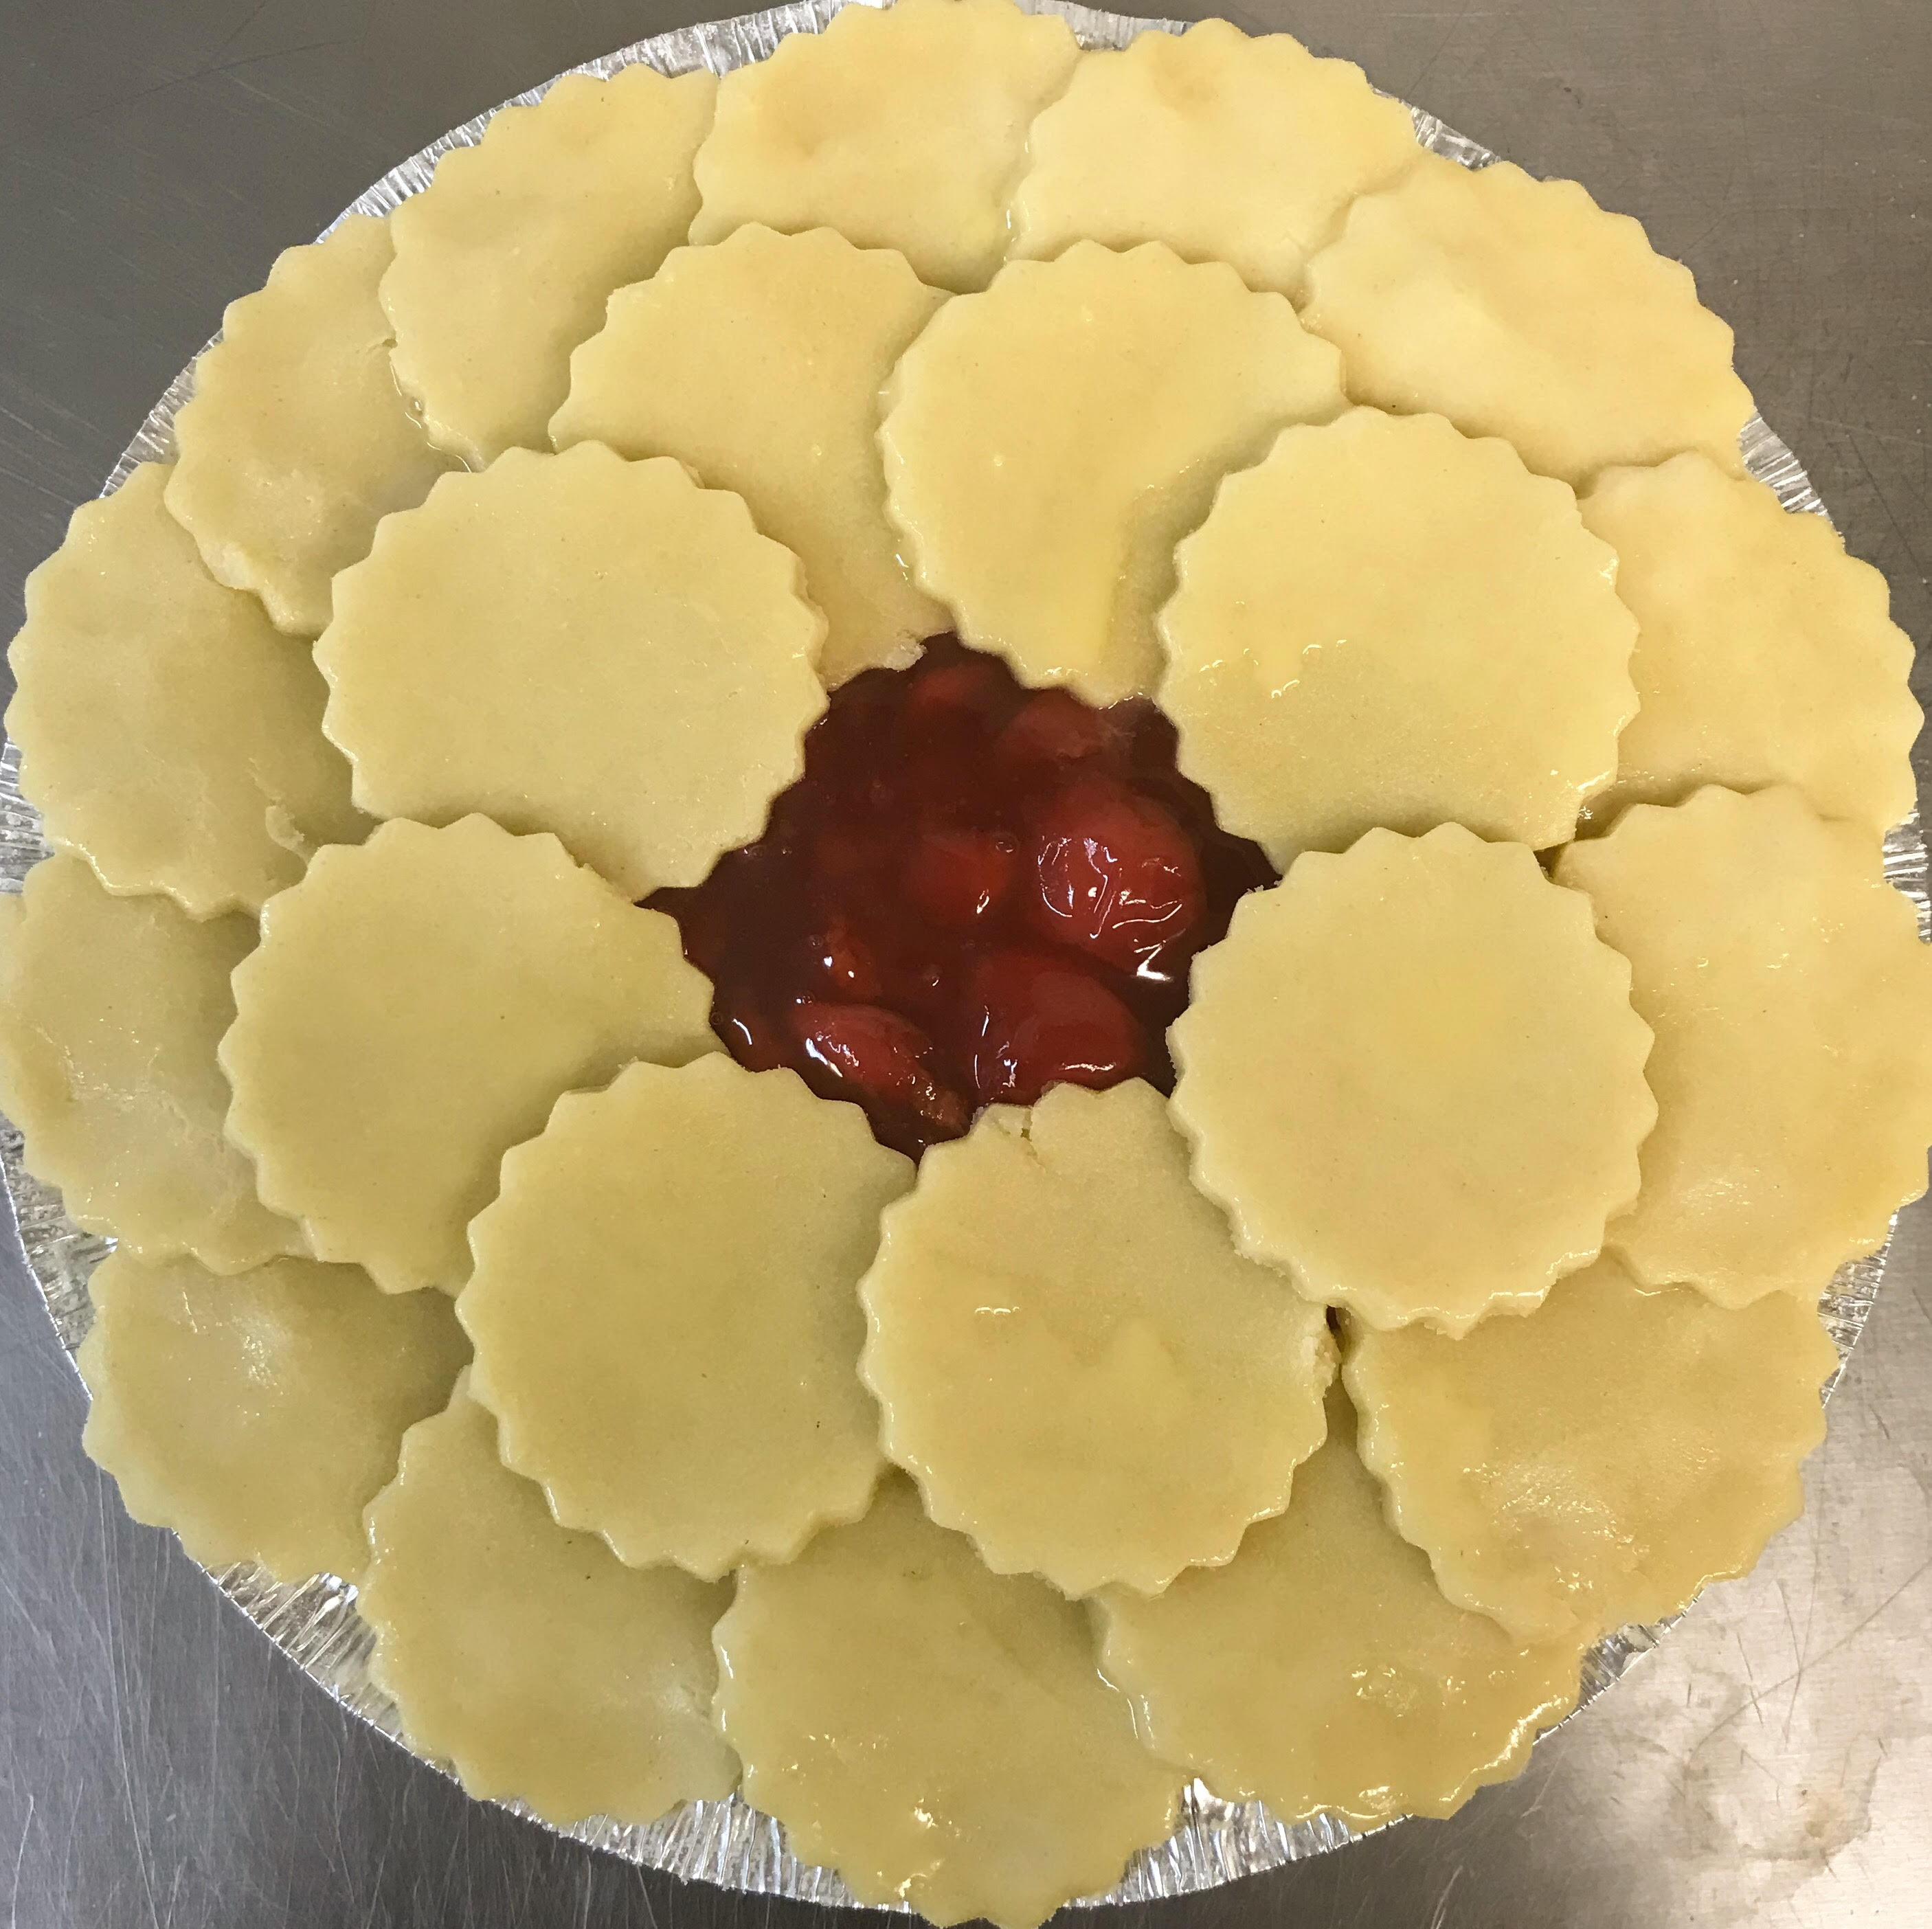
My personal favorite way to top a pie is sweet and simple! I love a lot of crust (who doesn’t?) but I favor a top crust that allows you a peak to the filling inside, as opposed to full coverage. To create this pie, you’ll need a full pie crust for the bottom as well as a full pie crust for the top. Create your bottom crust and add your filling. Roll out your additional crust until it reaches desired thickness. Using two different sized circle cut outs, create rows of perforation, alternating the sizes.
Punch out all of the circles, and then very carefully, place over the top of the prepared pie. Depending on your crust, it may want to break or crack (as mine did). Remove the excess crust from around the sides and using a fork, press the sides into the lip of the pie pan.
Egg wash the top crust and then bake the pie until it is fully cooked. If the top starts to brown before the pie is fully cooked, cover it with tin foil. Remove from oven, let cool and enjoy!
My fourth and final pie crust decoration is a scalloped crust. For this, you will need another cut out. I used a one and half inch cut out that had zig-zagged edges. You will, once again, need enough crust for a bottom and a top crust. Create your bottom crust and add filling. Roll out your additional dough to desired thickness, and create your cut outs. Lay them around the outer edge of the pie and then egg wash. Create a second layer by adding more the circles onto the edges of the first layer and egg wash.
Bake until done! If the crust starts to brown before the pie is fully cooked, cover with tin foil. Cool, serve and enjoy!

Gluten Free Pie Dough Recipe
Perfect gluten free pie dough!
For a double pie crust
- 6 TBS ice water
- 3 TBS sour cream
- 1 TBS rice vinegar
- 2 3/4 cups plus 2 TBS gluten free flour blend
- 1 TBS sugar
- 1 tsp salt
- 1/2 tsp xanthan gum
- 16 TBS unsalted butter cut into 1/4 inch pieces & frozen for 10-15 minutes
- Combine water, sour cream, and vinegar in a small bowl.
- Process flour, sugar, salt and xanthan gum together in a food processor for a few seconds.
- Scatter in butter and pulse about 20 times, until butter and flour mix is uniform.
- Pour half of liquid mixture in and pulse about 3 times, until incorporated. Pour in the remaining mixture and pulse until dough just comes together, about 20 pulses.
- Divide dough into two equal pieces, wrap in plastic wrap and flatten each into a 5 inch disk.
- Refrigerate for at least 1 hour.
- Before rolling out, let sit on counter 20 to 30 minutes so it is easier to work with.
- Fill and bake according to directions.
Maggie, I am not necessarily gluten free. However, I sensitive to all of the following and try my best to not consume: wheat, corn or corn products, white potatoes and dairy. I am trying to create a flour blend using rice flours, arrowroot and tapioca flours. Any suggestions would be most appreciated for pie crust. By the way, I found your booth at the Farmers Market in Hood River. Best Snickerdoodle Cookies EVER! I bought what was available that day and enjoyed them over several days. YUM!!
Hi Julia, A lot of gluten free flour blends use potato starch in their mixes, but here is a link I found for you for a blend sans potato starch (https://www.whattheforkfoodblog.com/2016/01/14/nightshade-free-gluten-free-flour-mix/). I have never made it, but it’s worth a try! Good luck and let us know how it turns out! I’m glad you liked the snickerdoodles too! 🙂
Thank you. I will give it a try. 🙂